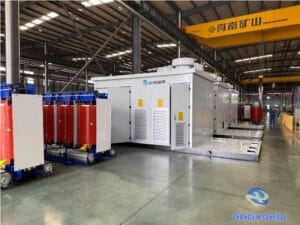
Ask most people what makes a transformer work, and they’ll point to the coils — the copper windings that most diagrams put front and center. But the part that actually shapes a transformer’s efficiency, noise level, and lifespan is quieter and less glamorous: the core.
A transformer core is built from hundreds of thin silicon steel sheets, cut to precise shapes and stacked together to guide the magnetic field with as little energy loss as possible. Get the core wrong — poor cutting tolerance, sloppy stacking, weak clamping — and no amount of copper in the windings will fix the losses, noise, or heat that follow. We’ve written before about how transformer core technology evolved from wrought iron to today’s grain-oriented silicon steel and amorphous alloys. This article stays closer to the factory floor: the actual step-by-step process our team follows to turn flat silicon steel sheet into a finished transformer core, whether it’s headed into one of our oil-immersed transformers or dry-type transformers.
Step 1: Precision Cutting of the Silicon Steel Sheet
Every core starts as a roll of cold-rolled, grain-oriented silicon steel — the same electrical steel referenced in efficiency standards like China’s GB 20052-2024 and the EU’s 548/2014 regulation. Grain orientation matters here: the steel’s magnetic properties are strongest along the rolling direction, so both the cutting pattern and the way sheets are later stacked have to respect that grain.
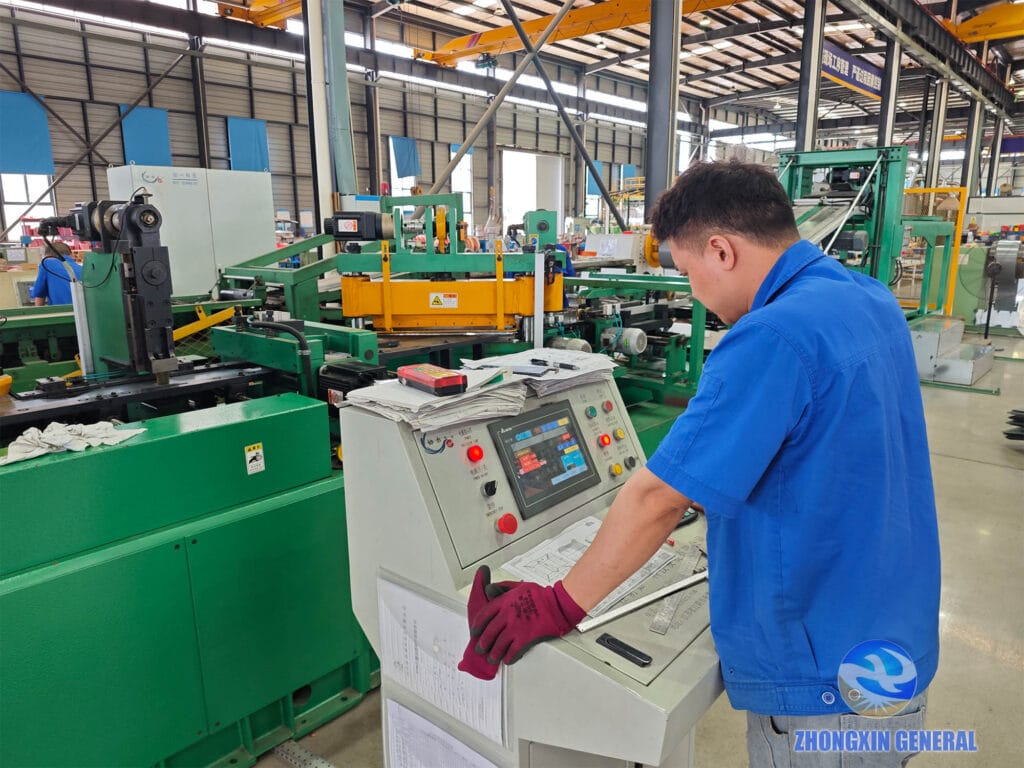
Our CNC cutting line slits and shears the silicon steel to the exact lamination dimensions specified for each transformer design — different capacities and voltage classes call for different core cross-sections, so this isn’t a one-size-fits-all cut. Modern step-lap cutting patterns, cut at a slight angle rather than a straight 90°, are used specifically to reduce the air gaps that form where laminations overlap, which lowers no-load loss and core noise.
Step 2: Dimensional Measurement
A cutting error of even a millimeter, repeated across hundreds of laminations, adds up to a core that’s out of tolerance and a transformer that runs hotter and louder than it should.
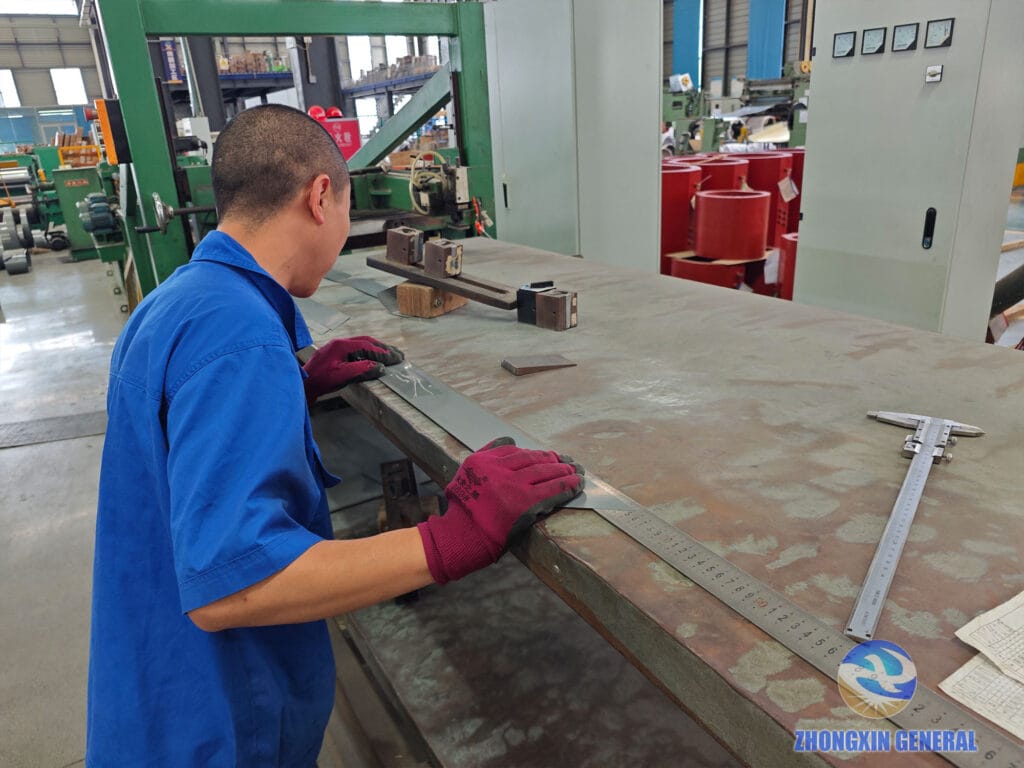
So every batch of cut sheets goes through a manual dimensional check before it’s cleared for the next stage. Length, width, and squareness are measured against the design drawing, and any sheet outside tolerance is pulled and scrapped rather than risking it in a finished core.
Step 3: Recording Inspection Data
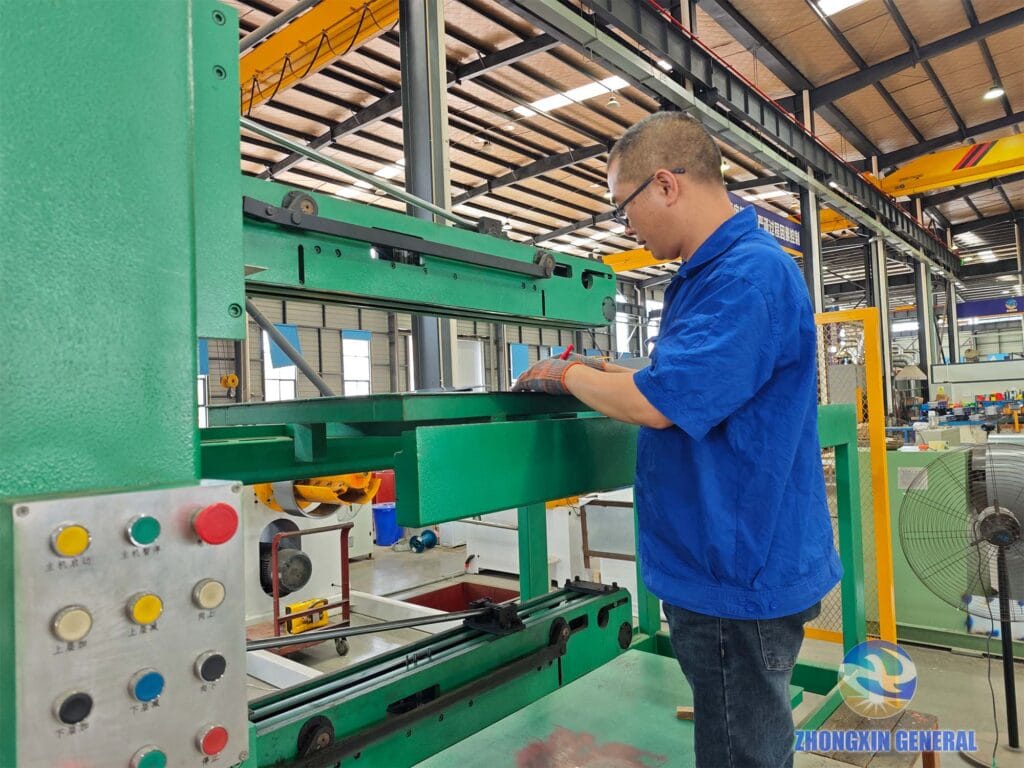
We log the cutting and measurement results for every batch — not as paperwork for its own sake, but because it gives each transformer core full traceability back to the raw steel coil and the cutting run it came from. If a quality question ever comes up on a delivered unit, we can trace it back through the exact production data for that core.
Step 4: Sorting and Stacking the Cut Sheets
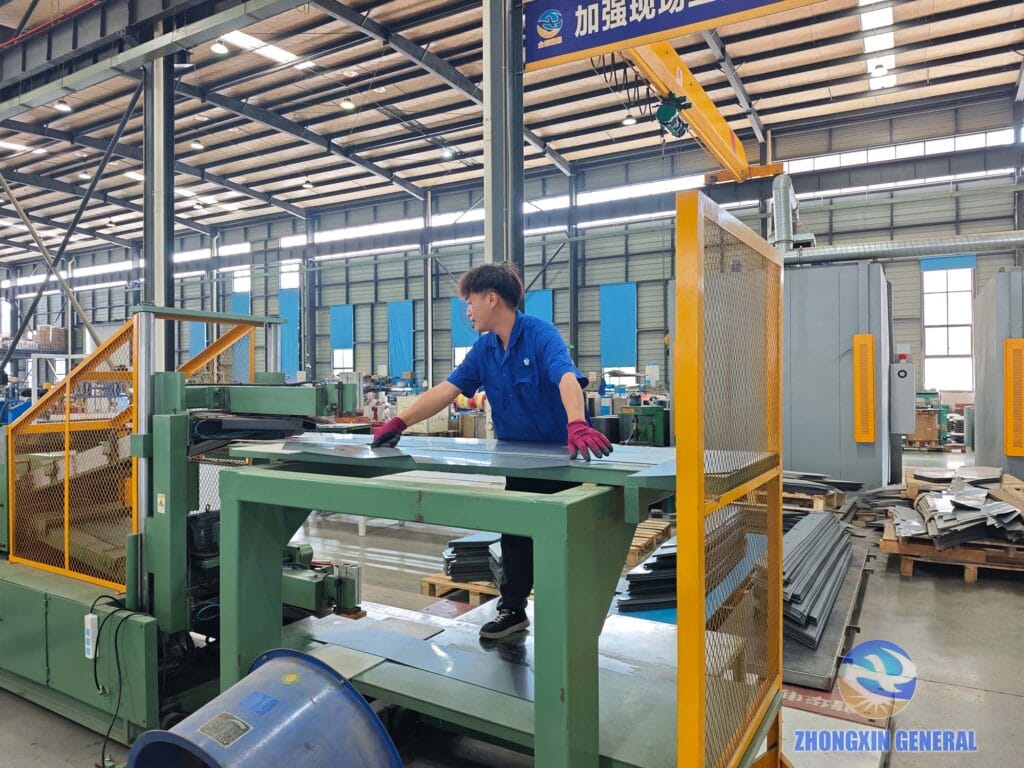
Once cut and inspected, laminations of the same size and step are sorted and stacked so assemblers can pull the right sheet in the right sequence without guesswork.
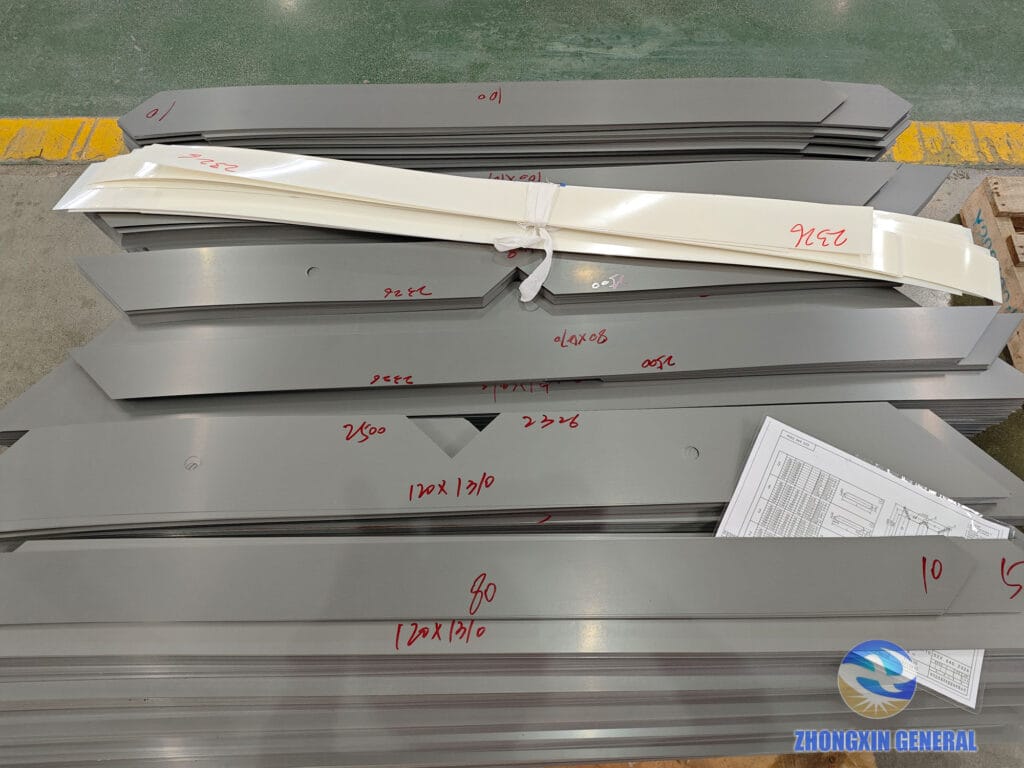
Each finished stack is labeled with its dimension, which matters more than it sounds — a modern transformer core can use dozens of distinct lamination sizes to build up the stepped, roughly circular cross-section that fills the winding window efficiently. Mixing up sizes at this stage means rework later.
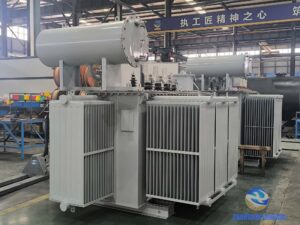
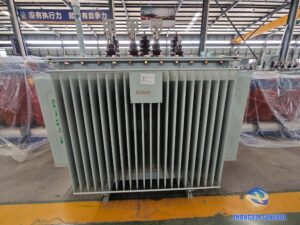
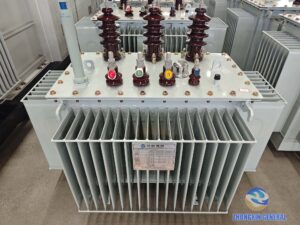
Step 5: Stacking the Core — Oil-Immersed Transformers
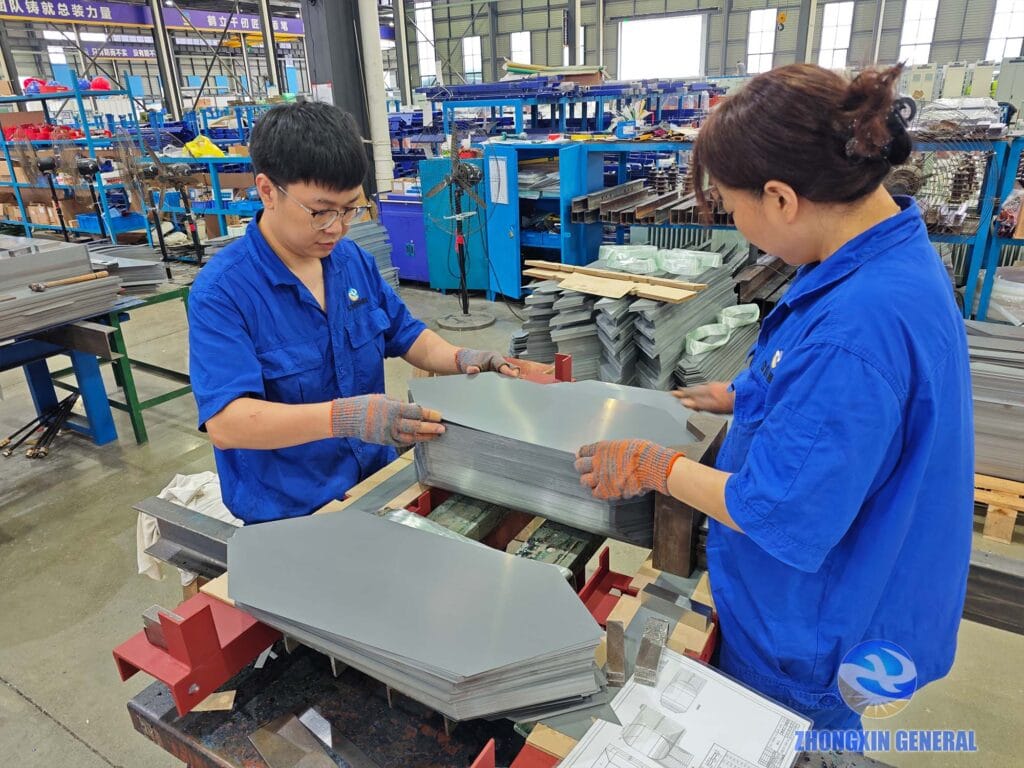
For oil-immersed units, laminations are built up layer by layer into a core column, following the step-lap pattern set at the cutting stage. This is still largely hands-on, skilled work: the technician has to keep each layer aligned and maintain consistent pressure so the finished core stack is uniform from top to bottom, with no loose sheets that could vibrate or shift once the transformer is in service and immersed in oil.
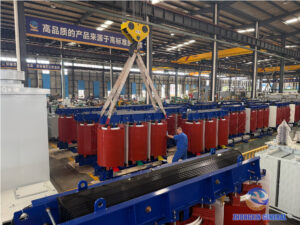
Step 6: Stacking the Core — Dry-Type Transformers
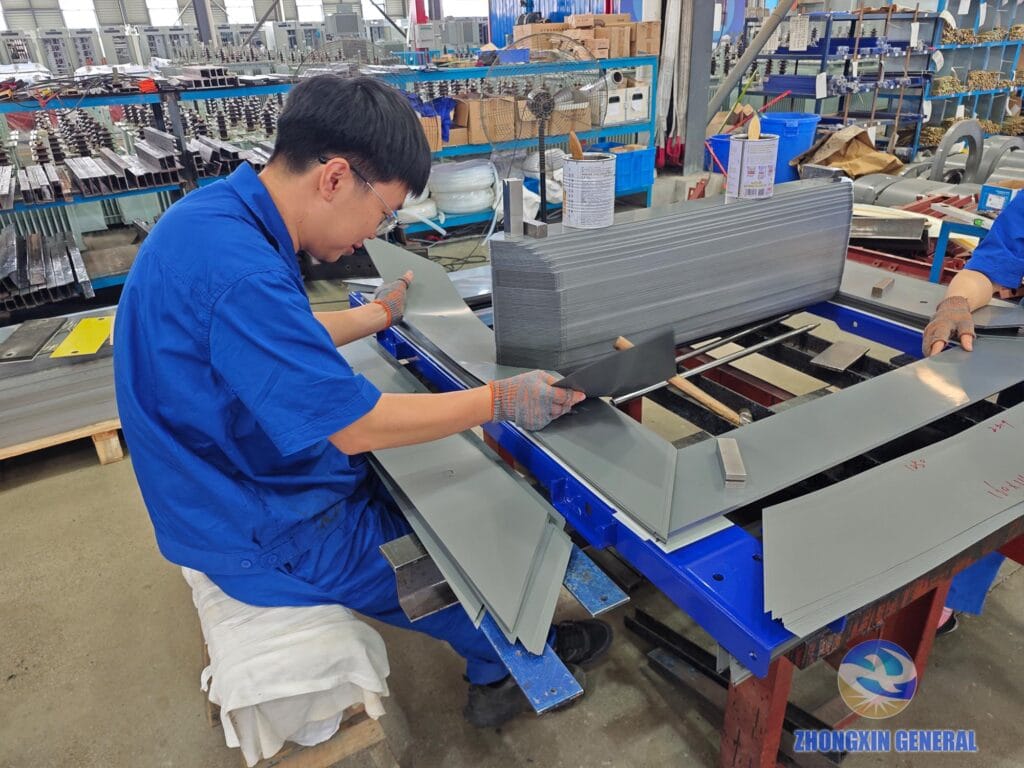
The same core-building principles apply for cast resin dry-type transformers, though the finished core has to meet a different set of demands — dry-type units are typically installed indoors, in hospitals, data centers, subways, and similar sites where low noise and low core loss matter as much as electrical performance. Careful, consistent stacking at this stage is one of the main reasons a well-built dry-type core runs quietly.
Step 7: Core Clamping and Fastening
A stacked core isn’t structurally finished until it’s clamped.
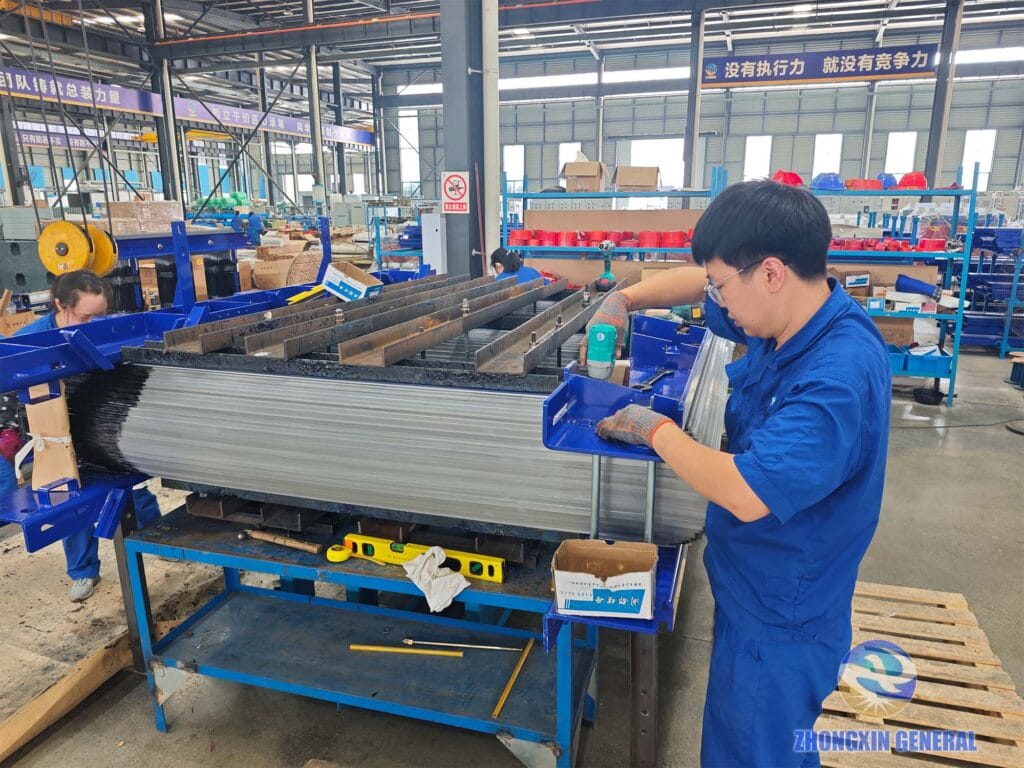
Steel clamping frames are fitted around the top and bottom of the stack and torqued down to hold the laminations rigid. This matters for two reasons: mechanically, the core has to withstand the forces generated during normal operation and short-circuit events without the laminations shifting; electrically, uneven clamping pressure can distort the magnetic circuit and increase losses. Getting the clamping right is as much a quality-control step as the cutting and measurement stages earlier in the process.
Step 8: Insulation Varnish Coating
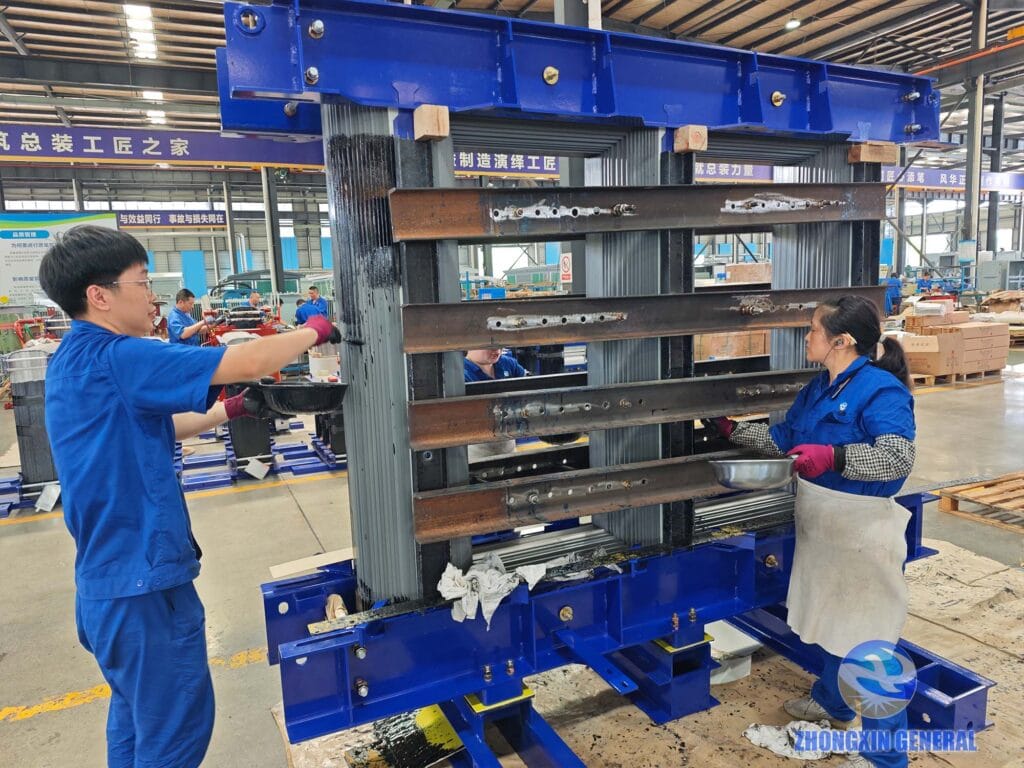
Once clamped, the core is coated with insulation varnish. The varnish does two jobs: it protects the exposed silicon steel edges from corrosion over the transformer’s service life, and it reinforces the inter-laminar insulation between sheets, which helps suppress eddy current losses. It’s a simple-looking step with real electrical consequences if it’s skipped or done carelessly.
Step 9: Binding and Wrapping the Core
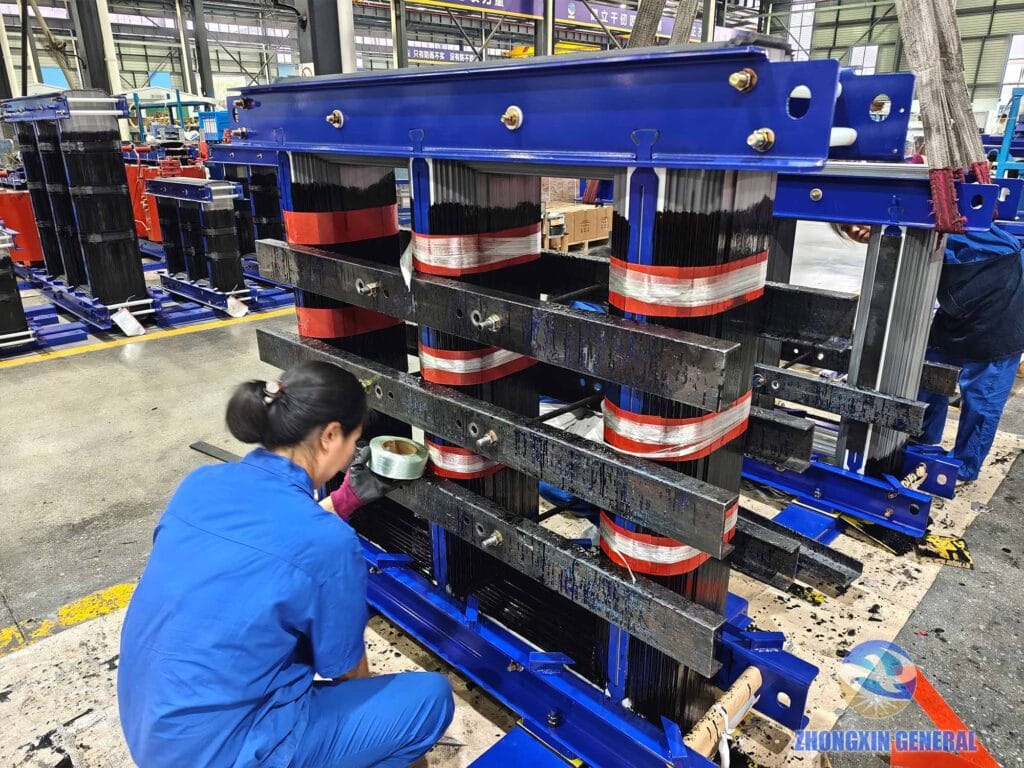
With the varnish applied, the core is wrapped in glass-fiber insulation tape, wound tightly around the stack. This binding locks the laminations firmly in place, adds another layer of mechanical protection, and further reinforces the insulation before the core moves into the winding stage of assembly.
Step 10: Curing and Final Inspection
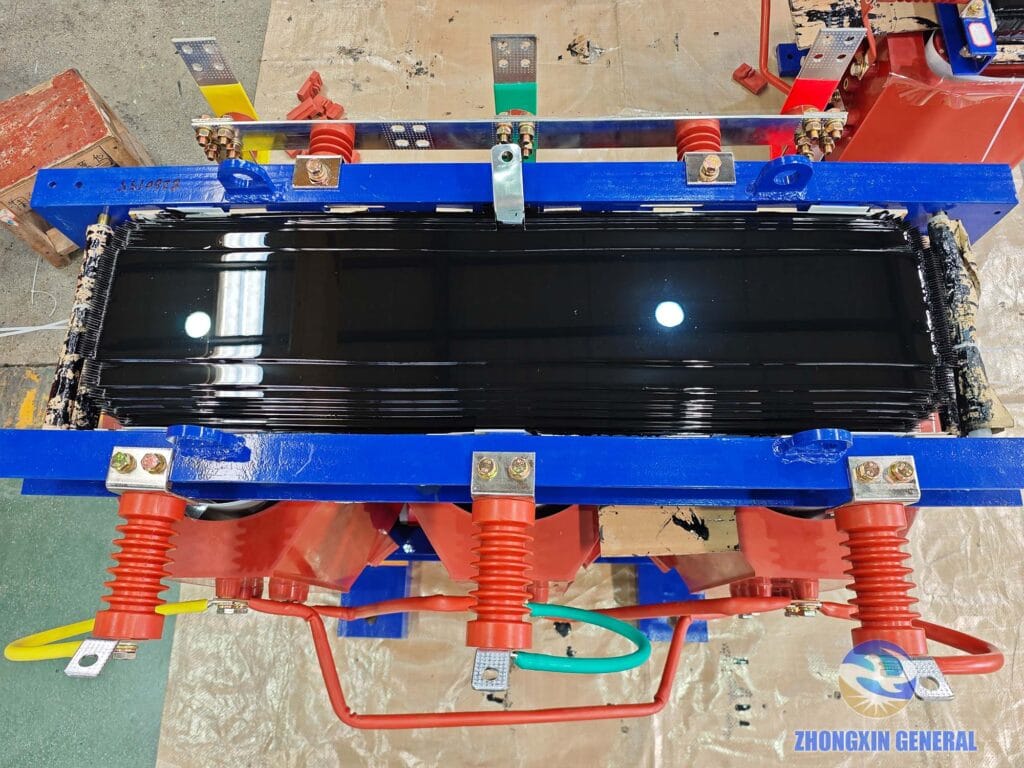
The top section of the core is deliberately left uncoated during the earlier stacking and varnishing steps — it has to be removable so the windings can be fitted into place. Once the windings are installed and the top core section is put back on, the transformer is fully assembled and tested. Only then, for the first time, is that top section coated with insulation varnish and left to air-dry before the unit ships out.
Why the Core Process Matters to You as a Buyer
None of this is visible once a transformer is delivered and installed — the core is sealed inside the tank or resin casting long before it ships. But it’s the single biggest factor behind a transformer’s no-load loss, operating noise, and long-term reliability. If you’re comparing quotes for oil-immersed or dry-type transformers, the core-building process is one of the things worth asking your supplier about directly — cutting tolerance, stacking method, clamping design, and insulation treatment all show up later as differences in efficiency and noise, even when two transformers look identical on a datasheet.
If you’d like to see this process applied to your own project specifications, get in touch with our team — we’re happy to walk through the core design behind any transformer we quote.